
So I’ve done a few of these tutorial post and I want to get one thing out of the way. I hate DIY filmmaking culture. The term DIY has been hijacked by indie youtubers who think building a camera rig out of PVC pipes is “just as good” or “achieves the same shot.” DIY no longer means doing it for yourself, it means doing it cheaply and hackish. Very few of these DIY filmmaker setups come close to what the marketplace has produced in terms of ergonomics and build quality. One thing I want people to take away from the tutorials on this blog is that I always use materials that closely resemble what companies produce. For all of my Slate Series post I start with a $15 dumb slate, I never suggest go to Staples and buy a dry erease board like other slate tutorials do. And for my timecode slate I didn’t try to cobble a battery alarm clock to work with your slate, no. I used a Microframe Master Slate because their circuitry is good and affordable. (Sadly, I was blown out of the water 4 days later after i posted it by Justin Pope who 3D CAD designed a TC SLATE frame for his Microframe that was far better than mine. It is amazing and you should check it out. I think he is toying with the idea of taking orders for it. ALSO check out his tutorial on building a Eurokart.)
The following tutorial will be no different than the high standard I hope you the audience now expect from this blog (I’m looking at you G2/3 SMA post.) For me, “DIY” is about looking outside of our industry to find out how other people overcome simular challenges we face and how their gear can be applied to our needs. Moleskin was never marketed to sound mixers, some tinkering soundie was getting creative and needed to solve a problem.
The audio bag we will make in his tutorial is a great solution for people who do a lot work rigging up cars. More and more cars have smaller and smaller trunks. When I was working on Car Pro USA, some of the sports cars we profiled had trunks that couldn’t hold a purse. We got creative with hiding our drop recorders. This bag also is a great solution for a secondary Zoom F4 ENG bag for smaller shoots that only requite 2 lavs and a boom.
The Supplies:
- Condor Deployment Bag – http://amzn.to/2AcSNXn
- 1x Condor MA24 Double M-14 Open Top Mag Pouch- http://amzn.to/2BshEUT
- Wire cutters
- Soldering Iron – http://amzn.to/2ztxNZ5
- STRONG Scissors – http://amzn.to/2iWlf6c
- Hot Glue Adhesive
Step 1:

Use the scissors to cut small inserts into the top of the bag like the photo above. Next use your wire cutters to cut through the zipper on the end that does not unzip open. Once you cut through you’ll be able to open the whole top like it’s a tote bag. You can cut off the zipper or leave it.
Step 2:

Use hot glue to hold the two newly created flaps down against the interior walls of the bag. The hotter you can get the glue the better. Nylon fabric turn’s back into plastic when you apply heat. That chemical process is what makes hot glue a really good bonding agent for this. You can also go back over it with a hot clothing iron to smooth out any bumps and really melt he hot glue into he weave of the frabic for extra bonding. Fabric glue tape may also be used for this part but make sure the temperature’s needed aren’t too high or you’ll melt the nylon fabric. Hobby style Hot Glue sticks have a melting point below nylon.
Step 3:
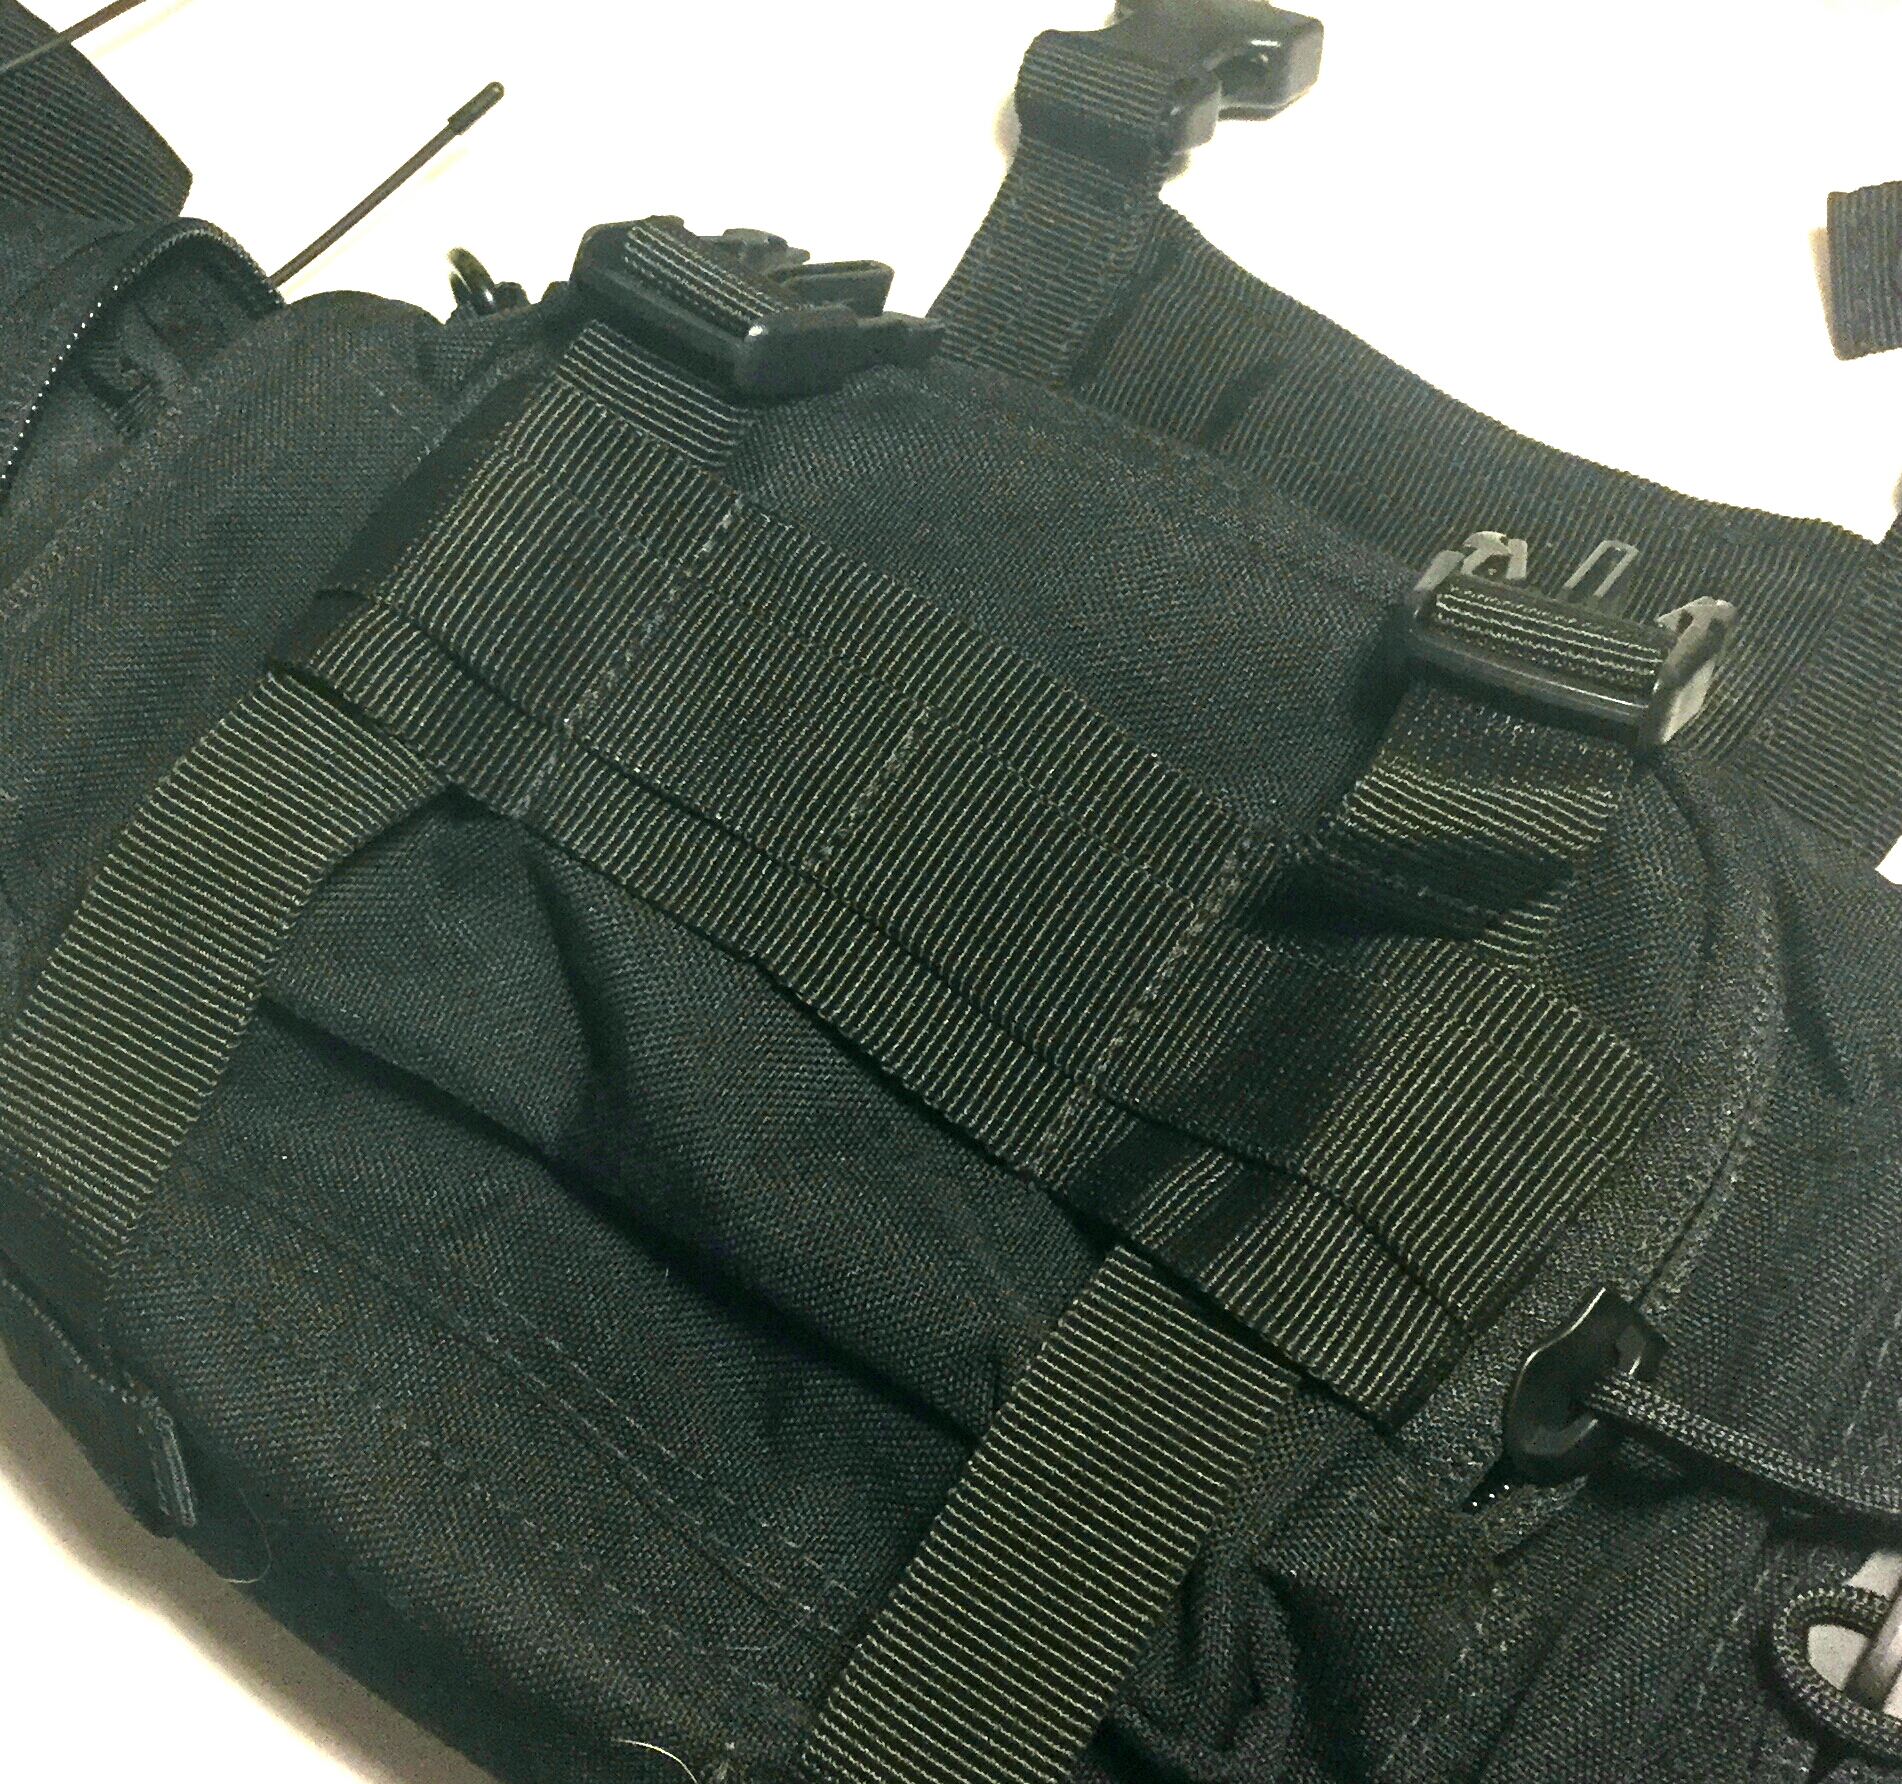
Feed the buckle straps through the MOLLE mounts. We will still use these straps to secure the handle or the bag.
Step 4:

Mount the M14 ammo clip pouches into the MOLLE mounts now like the picture above. Once all 4 straps are fed through start on one idea and snap all the button snaps closed. I know it feels weird trusting some button snaps to hold $$$ gear, but if our soldiers in war trust it to hold priceless ammo in battle… it’s good enough to hold a G3.
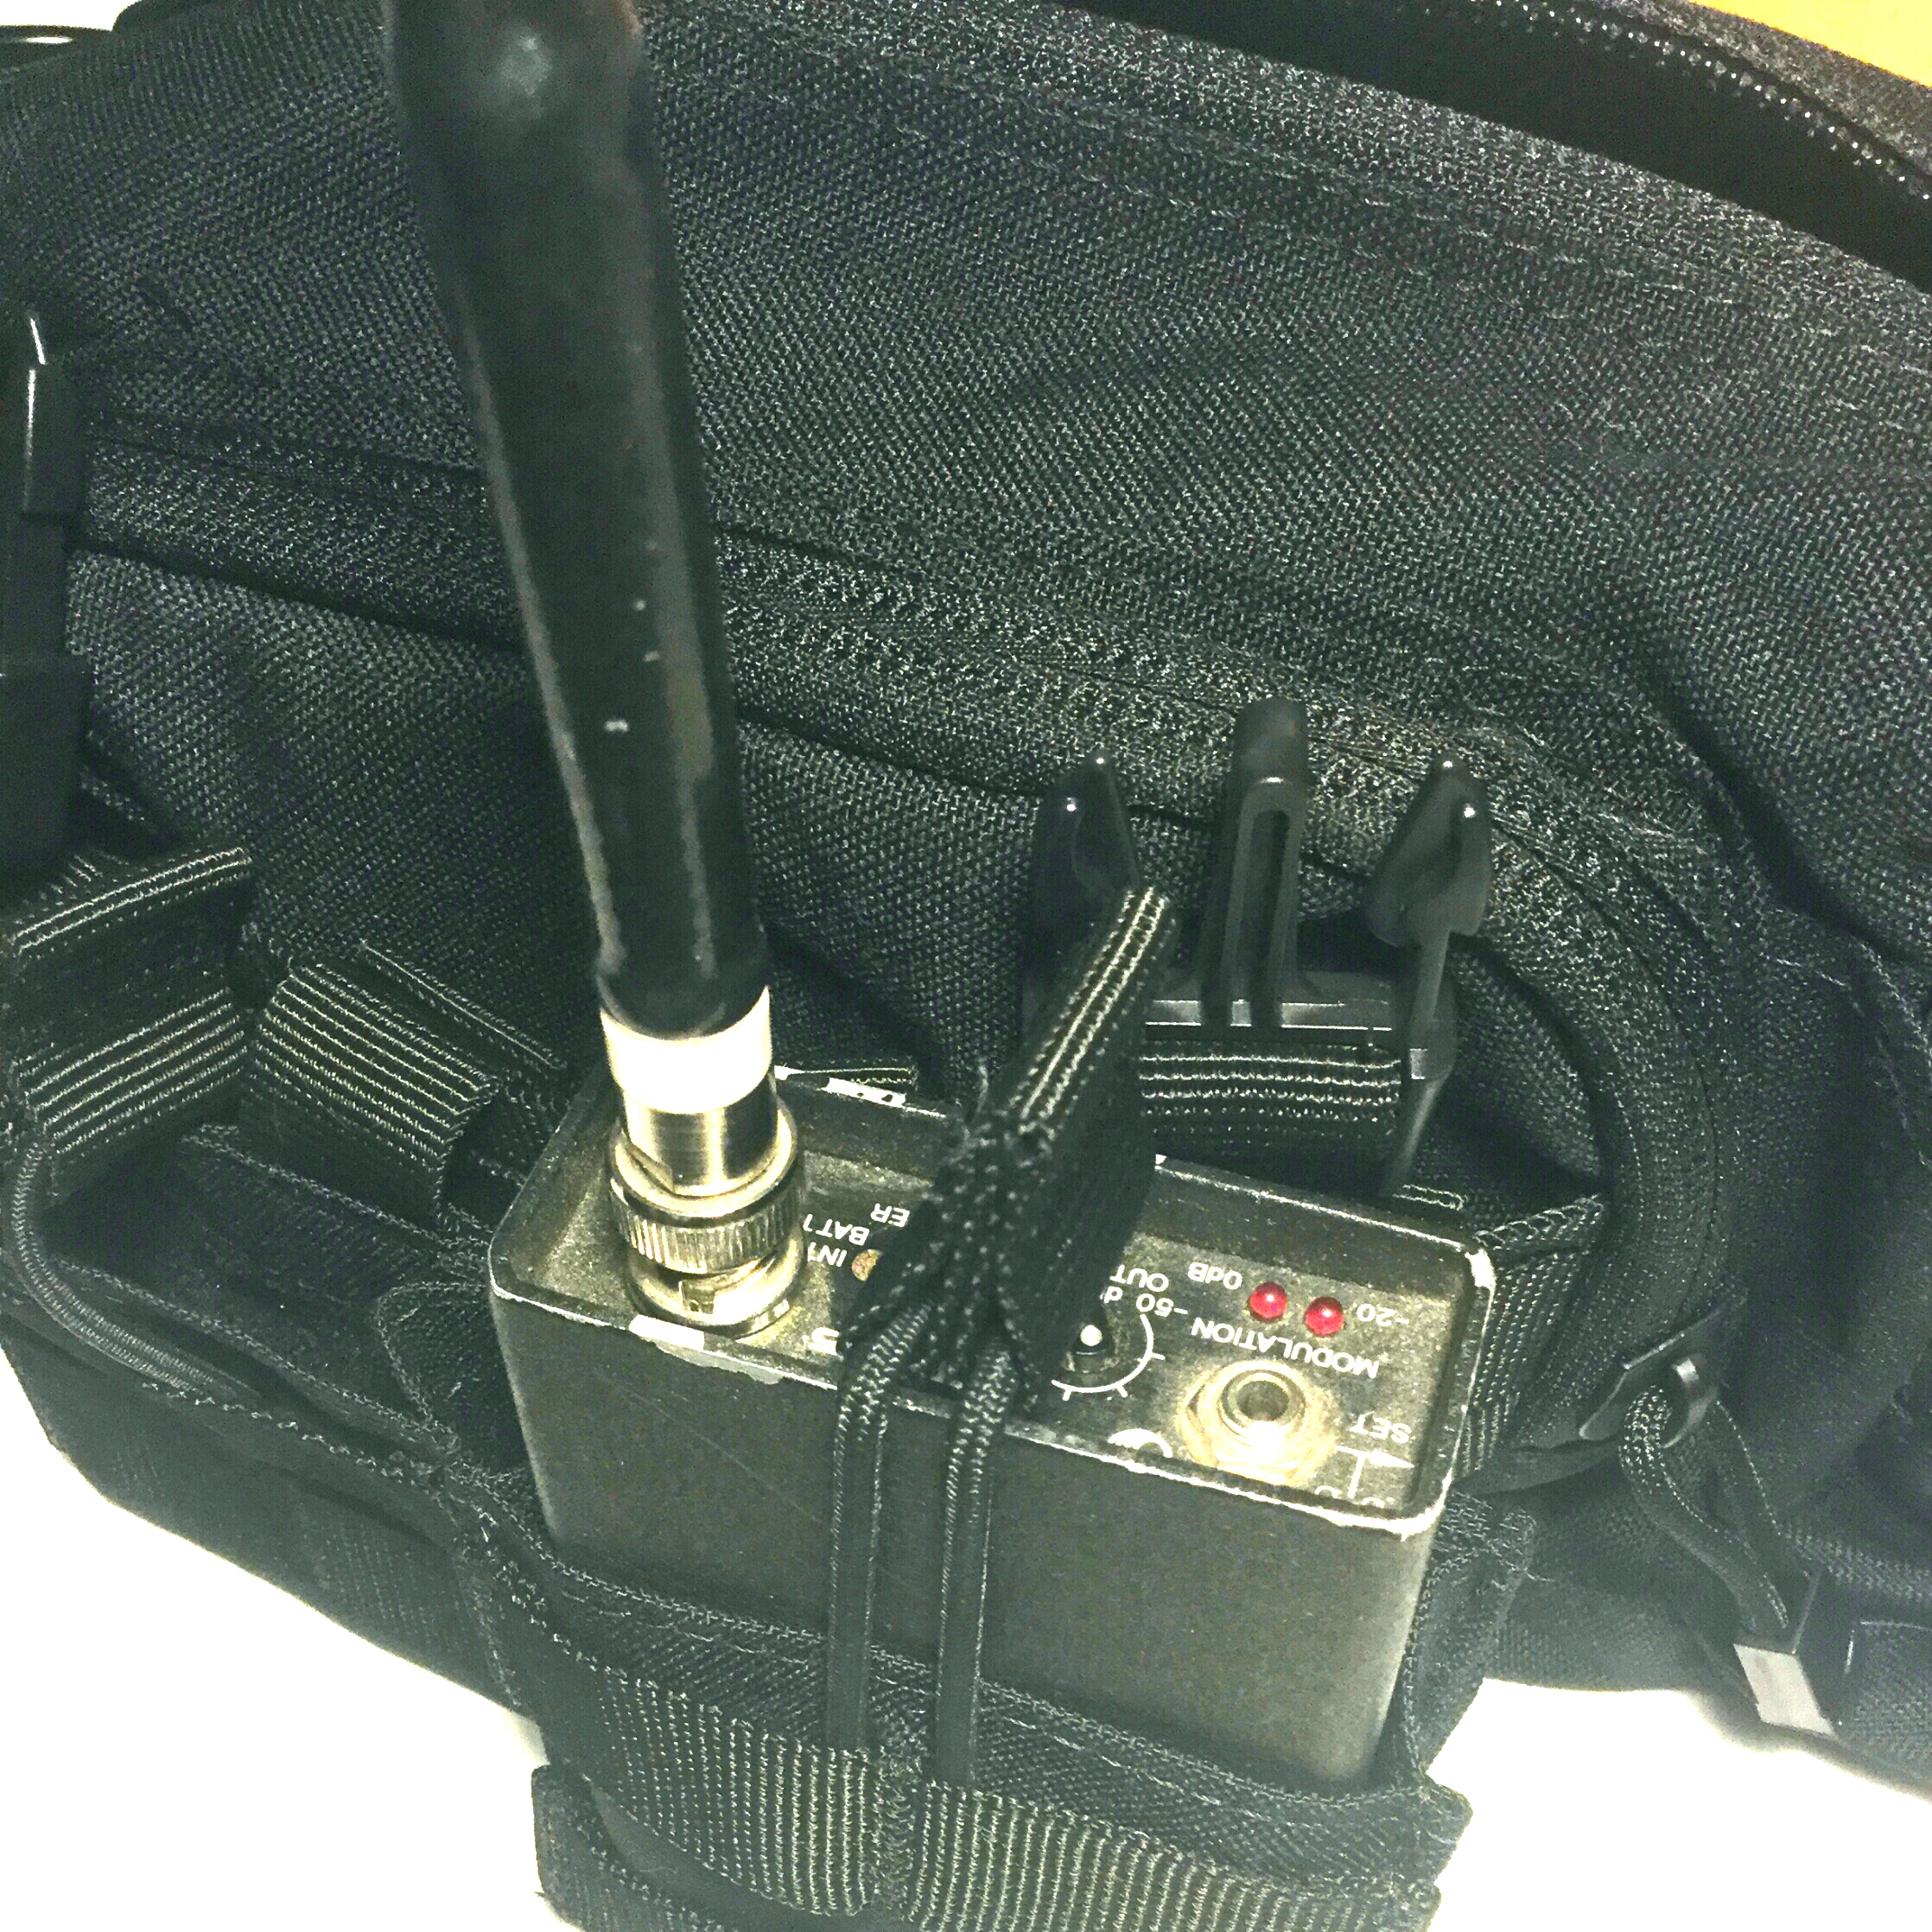
The M14 ammo clip pouch from Condor features a bungee cord to lock ammo into place. We will use that bungee cord to hold our wireless receivers in place. Here you an see it stretches out enough to hold a Lectrosonic reciever.
Step 5:

Open each side pouch of the deployment bag. Mount the blade point from your soldering kit onto your iron and heat it up very high. Cut open windows into the main bags compartment like the photo above. DO NOT have your recorder in the bag when cutting! It is only in the photo for reference.
Step 6:
 Continue with your hot iron knife to melt the edges of the main compartment bag you created when you cut with the scissors and wire cutters. This will prevent fraying.


And that’s it. You will see there are MOLLE mounts on he M14 pouch and on the sides of the bag. You can expand this if you require more but this should get you started with a basic 2 lavs and a boom style bag.

Thanks a lot for knowledge,
Cheers
LikeLike
Cool article, and a nice bag layout! Thanks for sharing all this. I just ordered one of these from Amazon, and hope to do your build in the next week or two. I’m primarily a field recordist, so no need for radio links, but this looks easier and cleaner than the bag I’m using, and less Velcro-intensive than some of the bags I’ve seen out there. Looking forward to it.
LikeLike
I know I’m replying to my own comment, but for anyone doing stealth recording (crowd wallas, location ambience, etc.) I’ve been using a stripped-down version of this bag with excellent results.
I left the top zipper alone (makes it cramped to get a recorder in and out, but it works) and left off the mag cases. Omni lavs clip to the loops on either side of the front pocket and feed into either side. A recorder (Zoom F8 in my case) and battery (Talentcell – see Andrew’s excellent mod tutorial here on Wav Report) finish out the equipment list.
I’ve been using this for a while now with, as I said, excellent results. The stereo image is nice and wide (mic spacing approximates a human head), with a decent center image for anything further than a foot away.
Thanks again, Andrew!
LikeLike