
There has been a lot of confusion surrounding the K-Tek Stingray harness. And what’s more is that a lot of people don’t even realize that they’re confused about it. All around the internet, at NAB, and though discussions with colleagues, I’ve seen just how polarizing some of the opinions about this harness can be.
I’m willing to bet that most, if not all, of those people have been setting it up incorrectly. I want to be the first to shout out to the world that I had been wearing mine the wrong way for several months. But once I got it on the right way, it was like magic. The entire distribution of weight changed and I felt no strain on my lower back or neck. It was heavenly.
The bottom line is that due to the stiff spine and the sectioned strap design, when configured properly, there should be little or no weight on the shoulder straps. This is where many users like myself have gotten tripped up. It functions differently than all of the other harnesses out there. And as a result, it is able to change the entire way that we bear the weight.
So lets get to the guide!
First, I think that it might be helpful to have a numbered bullet point list with basic steps. Then people can read on for a more detailed description, and take a look at the video.
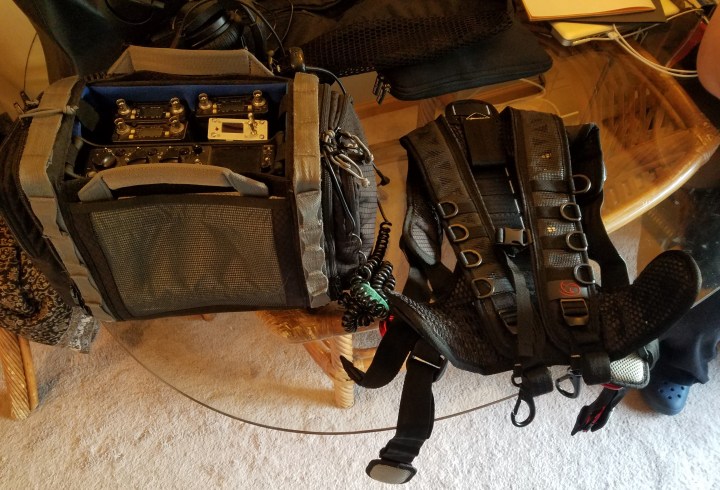
- Using the velcro connections, attach the upper strap section to the spine so that the lower hip pads sit just above your waist line when wearing the harness
- Hold your bag against your body at the elevation that you like to keep it when operating. Then attach the two shoulder straps to the far corners of the top of the bag so that it is held in place *this step is easier when a second person is present to help you hold everything as you initially set up the harness*
- Making sure that there is ample slack, connect the middle strap carabiner to the top corner of the bag closest to your body ON ONE SIDE
- Connect the bottom strap carabiner to the bottom corner of the bag ON THE SAME SIDE
- Repeat steps 3 & 4 on the opposite side
- With the spine positioned in the center of your back, grab the excess ends of the middle straps on both sides and pull equally and very firmly toward the bag so as to tighten.
- Grab the excess ends of the bottom straps on both sides and pull forward in the same way *make sure that both steps 6 & 7 are done very tightly*
- Loosen your shoulder straps so that you can easily place your hand between the strap and your shoulders
To remove the harness
- Reach back to the buckle for the middle strap ON ONE SIDE and push it backward. This will release the tension.
- Repeat step 1 for the bottom strap ON THE SAME SIDE
- Unhook from the bag, ONLY the middle strap and the bottom strap that were loosened.
- Pull the harness over your head like you are taking off a sweater
To put the harness back on
- Slip the harness back over your head
- Reattach the middle and bottom straps
- Pull very firmly toward the bag on the excess slack
Now lets examine these steps in more detail.
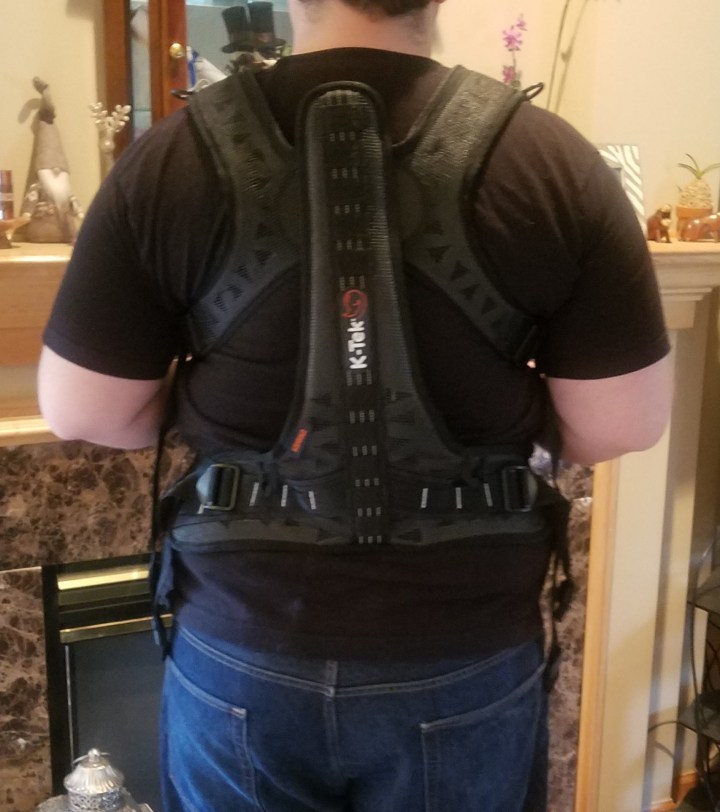
Before we do anything else, we have to make sure that the upper straps are attached to the spine in the correct position.

The entire attachment is made with extremely strong velcro, so it is simple enough to reposition it once you get your hands on it. For me, the ideal position turned out to be the way it came from the dealer: one “notch” below the top. You can determine the correct attachment point by putting the harness on and seeing where the lower pads sit on your waist. You want them to sit just above your belt line so that they wrap around your lower back.
Once you have attached your upper straps to the spine, move on to the positioning of the bag. You want to decide where you like it to sit on your stomach or chest. For this stage, it is easier to do when there is a second person around to help you, but it isn’t absolutely necessary.
Once you have the bag positioned, attach the hooks from the shoulder straps to the bag at a point farthest from your body. This is done to hold the bag up during the initial set up, and for when you’re taking it off and on. Then, set the length of those shoulder straps so that the bag is held in place.
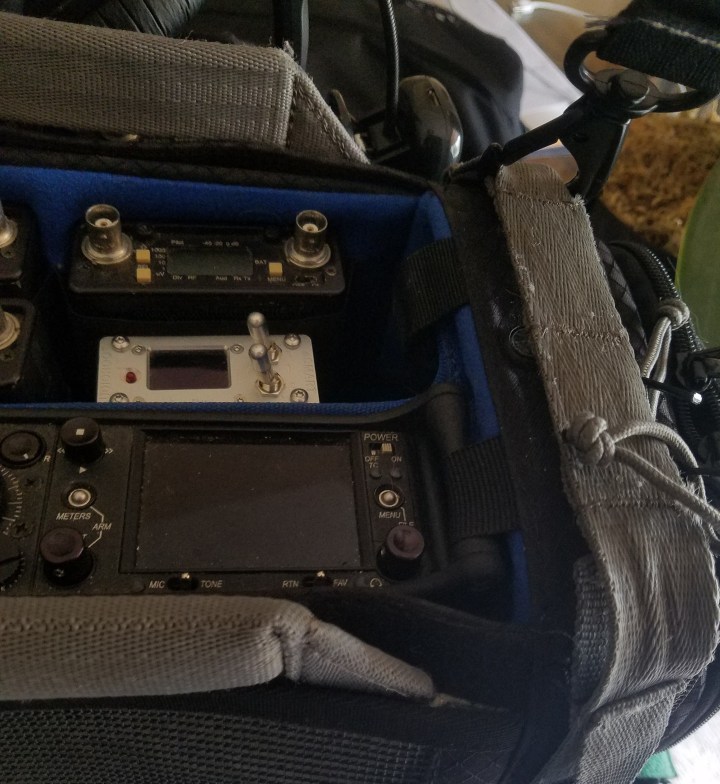
Next, you want to choose the connection point for your middle straps. For me, the top of the bag at the corner closest to me was ideal. Then you want to choose the connection point for the waist strap. I chose the lowest strap on the bag.

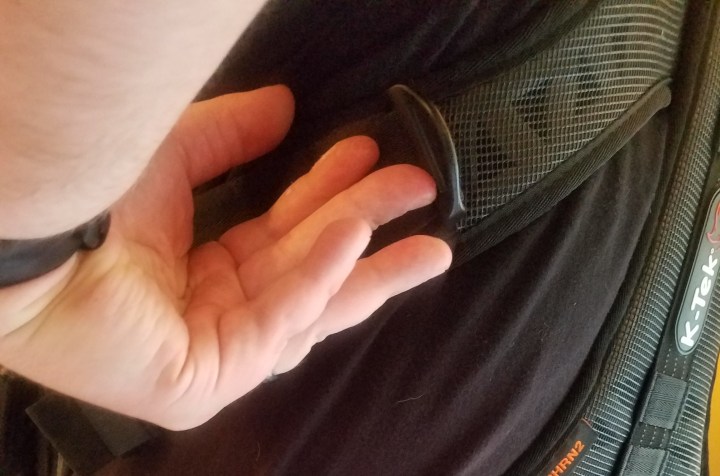
It is important when you attach the straps to the bag, that the pad on the side of the carabiner is facing inward toward your body. This way it can act as a cushion from the metal. Follow these steps on one side of the bag first, and then move to the other.
I expect that most people will choose this set up or something similar for their own comfort. On K-Tek’s more recent Stingray Mixer Bag versions, there are adjustable connection loops so that you can fine tune it to be exactly the way that you want.
In the above photo, the harness is locked on tight, but make sure that all the straps are loose until the end when you tighten everything.
When you’re sure that the spine is centered on your back and the bag is at the elevation that you want, reach back on both sides and pull the excess ends of the middle straps toward the mixer bag equally to tighten. It’s important to use some elbow grease here. If it hurts, you can loosen it a bit, but don’t be afraid to really make it snug. After that, do the same for the excess ends of the bottom straps. Once you do this, it should look like the above photo.
Once this is done, loosen the top straps enough so that you can fit your hand easily under the shoulder straps.

And……..You’ve done it! You have successfully configured your Stingray harness! Now while you should keep the shoulder straps attached in case something goes wrong, you shouldn’t be bearing any of the weight on your shoulders and can even detach the straps without any change to the bag’s positioning.
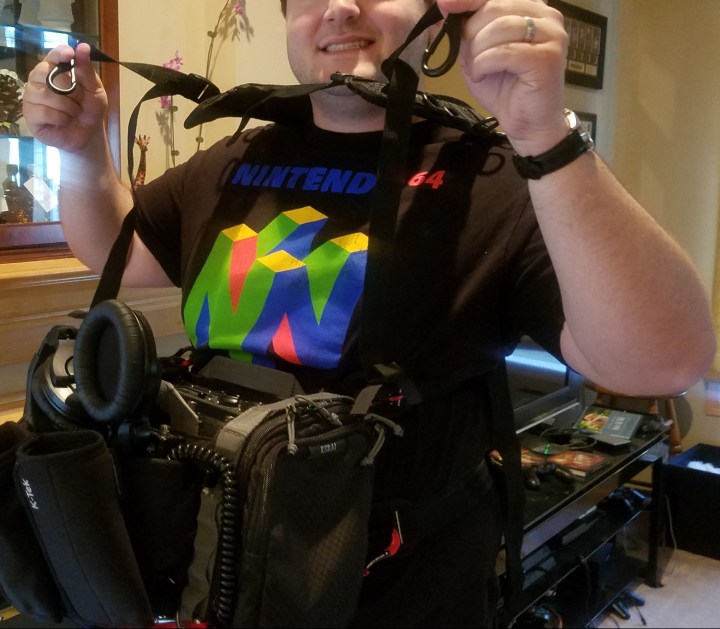
What also needs to be addressed is the idea that the Stingray harness is difficult and slow to remove when you need to take it off quickly. However, there’s actually a simple and expedient way to remove it without making it a task to put back on when you need to get back to work.
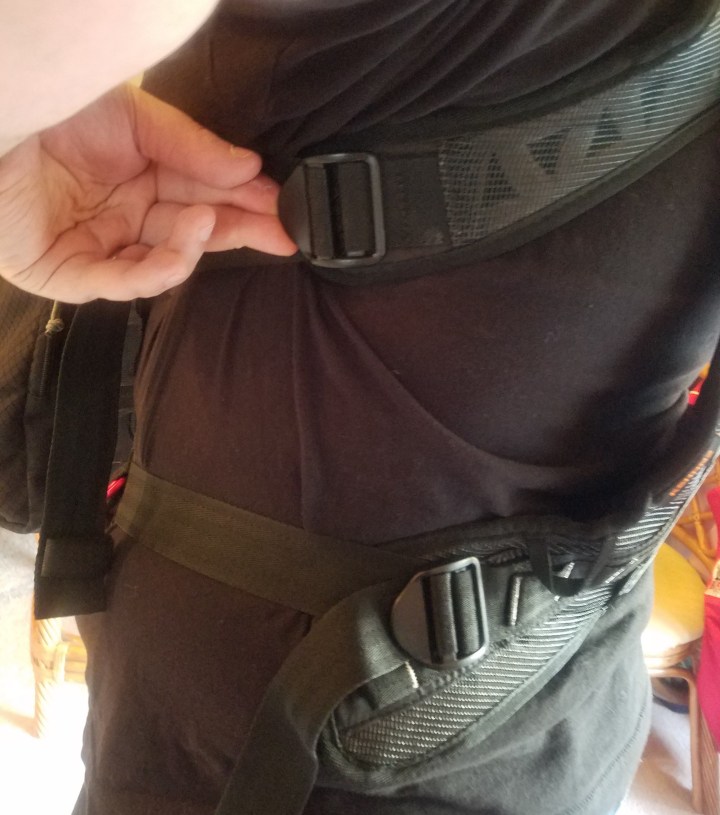
If you reach back to the buckles on the sides of the middle and bottom straps, and then simply push them back, it will release the tension. Now you want to do this only on one side, so that the other stays just as tight as it would be if you were wearing it to operate. You also want to leave both shoulder straps attached.

Once you have done this, you just pull the whole thing over your head like a sweater. Thats a description which several people have used lately and they are right to do so. It is a quick and easy way to get out for some rest, but which leaves the harness mostly attached so that you can get it back on in a flash.


And voila! There you have it. To put it back on, just reverse these last steps!
With how wordy this guide got, you’d almost think that the whole thing was complicated. But when you understand how to do it and try it out for yourself, you’ll see that it’s actually pretty simple and intuitive. And your back is going to thank you for it after you try it out for even a day.
Below is a video of how simple it is to attach the harness to the bag, and then to your body once you have it configured.

Jared Elkin is a professional sound mixer located in Minneapolis, Minnesota.
https://www.jaredelkinaudio.com
